Automating Astro Website Deployment with CI (Woodpecker) and SSH
Learn how to automate the build and deployment of an Astro website using a Continuous Integration (CI) pipeline with Woodpecker CI. Streamline your workflow with step-by-step instructions for building with Node.js and automated upload via SCP to a remote server.
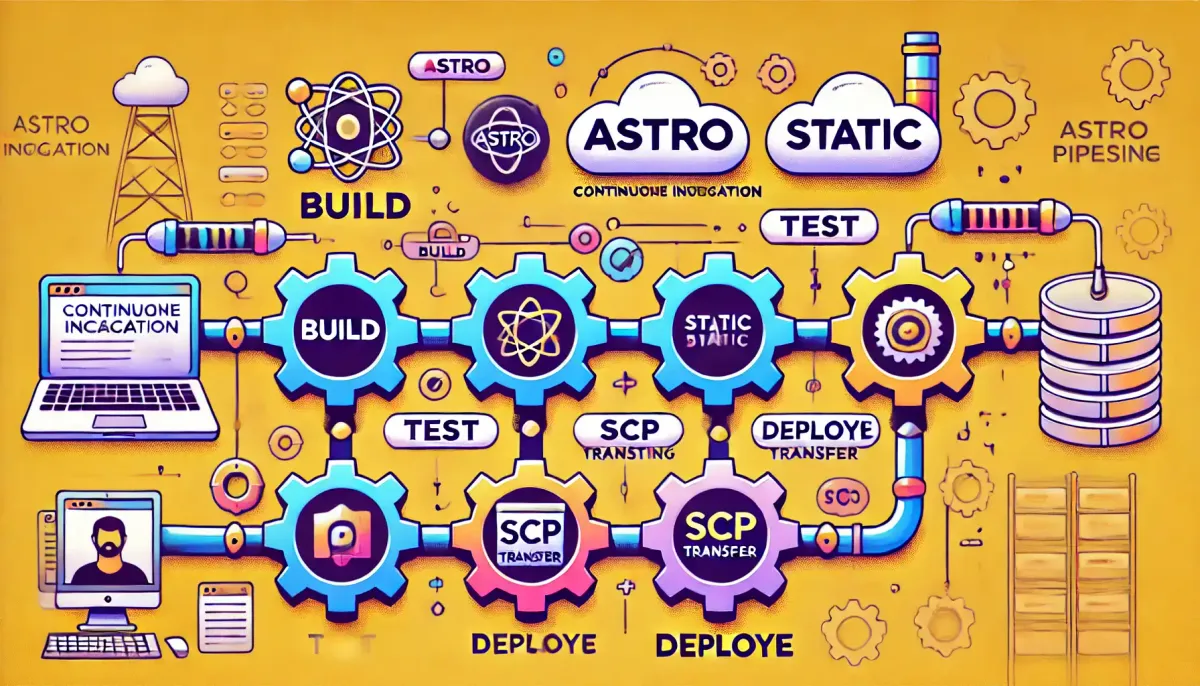
Continuous Integration (CI) has become an essential tool in modern web development, streamlining the process of building, testing, and deploying applications. In this tutorial, we'll walk through automating the build and deployment of a Astro website using a CI pipeline. Specifically, we'll use a CI configuration that builds the Astro site and uploads its artifacts to a remote server via SSH. In this tutorial we'll use Woodpecker CI.
Why Use CI for Astro Websites?
Astro is a modern static site generator optimized for performance. While developing locally is straightforward, deploying the site to a server is often a manual and so error-prone process. By integrating CI, you ensure:
- Automatic deployment with every push to the
masterbranch. - A consistent build process that reduces errors.
- Fast deployment to production.
- We also satisfy our desire for convenience!
Prerequisites
Before setting up the CI pipeline, ensure the following:
- VPS Configuration: Set up a remote server with SSH access, ensuring you have write permissions to the target directory.
- Woodpecker CI: Install and configure Woodpecker CI, including setting up its agent on a server, or using a cloud provider.
Setting Up the CI Pipeline
We'll use the following CI pipeline configuration to:
- Build the Astro website using Node.js.
- Upload the generated artifacts to a remote server, using SCP.
The CI Configuration
Here's the CI configuration for building and deploying your Astro site:
steps:
    - name: builder
      image: node
      commands:
          - npm install
          - npm run build

    - name: uploader
      image: git.merp.digital/eranmorkon/woodpecker-scp:1.1.0
      settings:
          host: host
          username: user
          ssh_key:
              from_secret: mysupersecretsshkey
          extra_flags: -P 48651 -o StrictHostKeyChecking=no -o UserKnownHostsFile=/dev/null -r
          destination: "user@host:/var/www/site_folder/"
          source: dist/*

when:
  - event: push
    branch:
      include: [master]
The configuration is quite easy to understand. There are two steps, one building the code and producing the output in the dist folder and another one automatically uploading the output (the dist folder, by default) to your VPS via SCP. We also specify that we want to run it only when the event is push and the branch is master.
Note that to do that, you'll need to generate an SSH key pair, this way you'll be able to allow safe-access to your VPS.